Users and roles
Invite new or existing Relato users by email and control their access to each business.
Updated: 2026-10-05What this covers
Owners manage members. Managers configure the product. Viewers have read access. Invitations expire after seven days.
Steps
1. Open Team, enter the person’s email, and choose Manager, Viewer or Technician.
Enter the email of the person you want to invite.
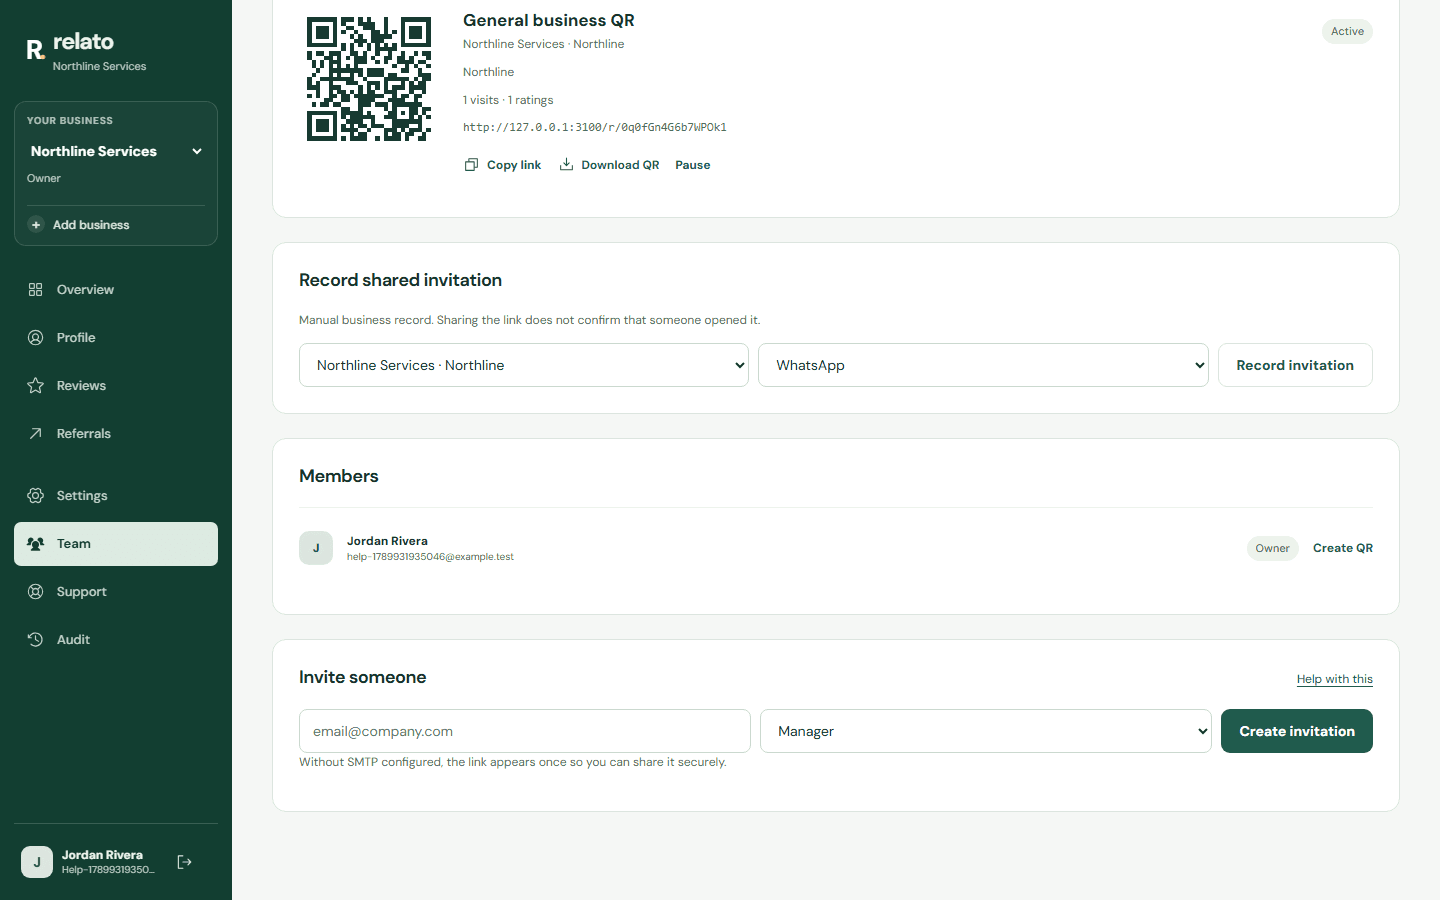
Choose their access role.
Create the invitation.
Enter the email of the person you want to invite.
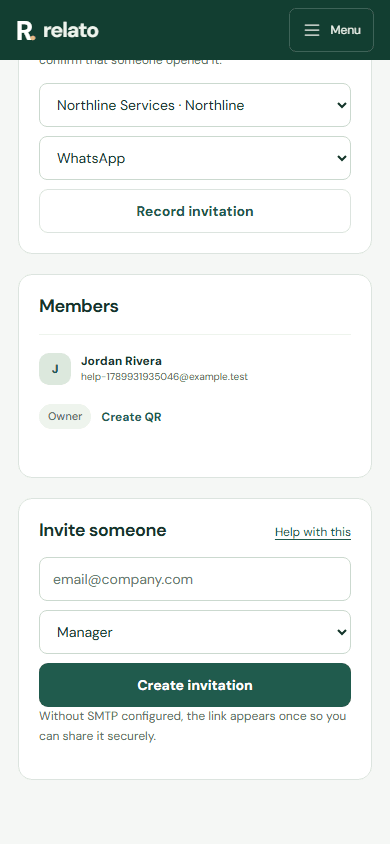
Choose their access role.
Create the invitation.
2. Relato creates a secure seven-day link and sends it using the current dashboard language when SMTP is connected. The link remains visible as a fallback.
3. A new user chooses a name and password. An existing user signs in with the invited email and accepts the invitation.
4. For an existing user, accepting adds only the invited business to their business selector. Their password, other businesses, and existing data remain unchanged.
Limits
If Relato has assigned a user limit to your business, every member, including the owner, uses one seat. Pending invitations do not reserve seats: availability is checked when they are accepted. If the business reaches its limit, the owner can contact Support to request more seats. Removing a member frees a seat; changing their role does not use another one. Customers submitting reviews or referral forms are not team members.
The owner can create custom module permissions in Roles. A team member's assigned role controls CRM access on the server. Billing for Relato subscriptions is still coordinated directly with the Relato team. Customer invoice checkout requires a separately connected Stripe account.
Create and assign custom roles
Manage tags controls who can maintain the business catalog of customer and job tags. Owners and administrators have this permission by default. An assigned custom role uses its selected permissions, so include tag management explicitly when needed. This permission does not grant access to customer or job records; editing those records requires their own permissions.
In Roles, an authorized business administrator can create a custom role, edit its name and module permissions, and assign or remove it from a team member. Choose the permissions deliberately; the role-management permission cannot be granted through a custom role. Changing a selection does not save it: use Save assignment to apply it.
If a role change is not confirmed, use Retry the same change only when that option is shown. If the screen reports a conflict, refresh and review the current roles and assignments before continuing; refreshing does not confirm whether the earlier change was saved. A connection problem does not prove that a change was rejected. If you leave Roles or reload the page, unsaved details and the pending request are not restored; check the current role list before making a new change. A role-list refresh failure is separate from a write that was already confirmed.
Memberships are separate for every business. Accepting an invitation does not copy customer data or settings between businesses.
Review QR codes by technician
1. Open Team and find Review QR codes by technician. You can also use Create QR on a member’s row.
2. Select the technician and choose a location and service. The QR name is generated automatically, for example “Jordan · HVAC”; no manual label is needed. Each technician can have one QR per business.
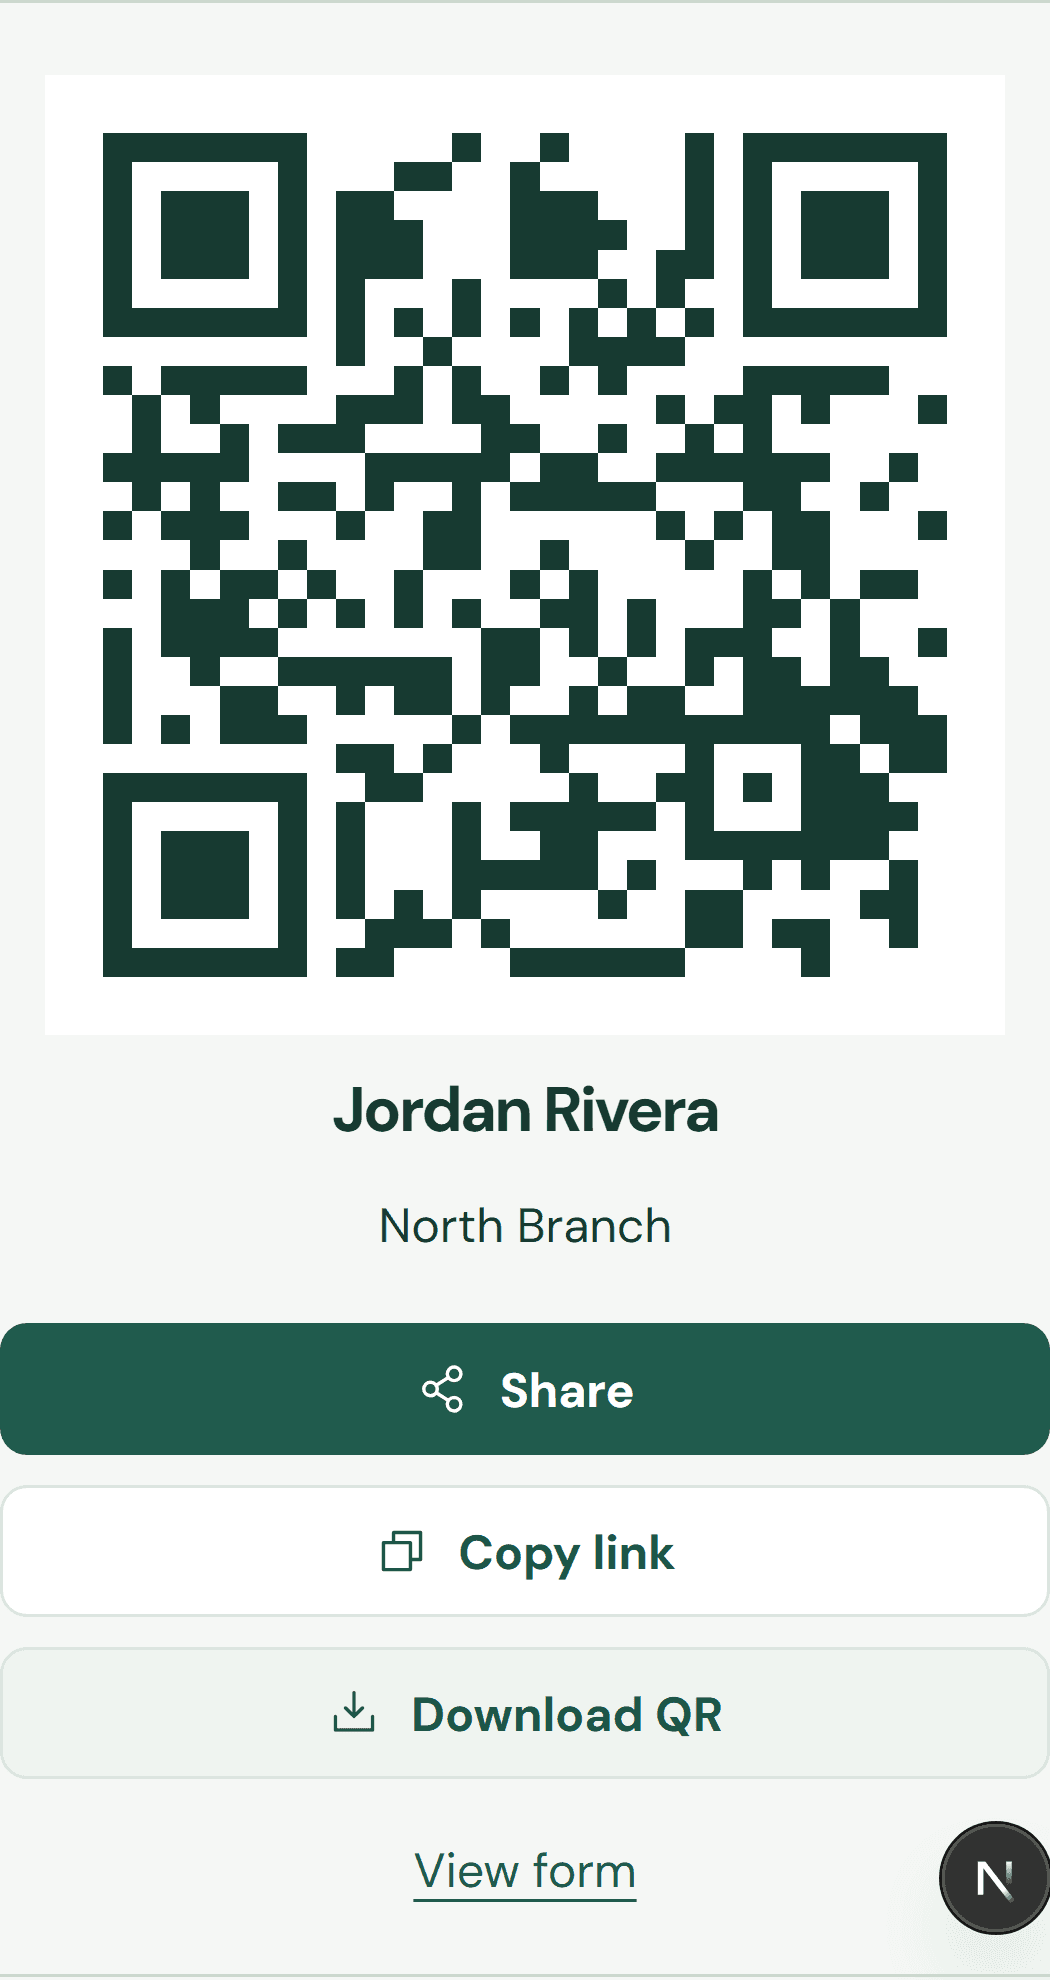
3. Create the link and use Copy link or Download QR. The QR opens the business review flow and displays the technician’s name.
4. The draft uses that name, service, rating, and selected aspects. Customers can uncheck the name if someone else helped them and can always edit the text.
Visits and ratings are counted per QR. Reviews show the technician associated with the link even if the customer omitted the name from the text. Removing a member pauses their QR and keeps its history; a QR cannot be reassigned. Existing links remain in Team as general business QRs. Only owners and managers create or pause QRs.
Find and share an existing QR
In Team, the QR appears beside the technician's name, location, service, and status. Use Copy link or Download QR. Pause stops public access through that link.
When codes already exist, open Create a QR code to reveal the form. It starts open if there are no codes yet. After creation, it returns to the list so you can share the code.
Technician access to their QR
1. The owner invites the technician from Team, choosing the Technician role. The user limit is checked when inviting and again when accepting.
2. The owner or manager creates a QR next to the technician’s name in Team, selecting the location and service where appropriate.
3. The technician accepts the invitation and signs in. My QR opens directly, with options to show, share, copy the link or download a PNG.
4. If no QR is assigned or it is paused, the screen explains how to contact the administrator. Technicians can switch between businesses they belong to and manage their own details in My profile.
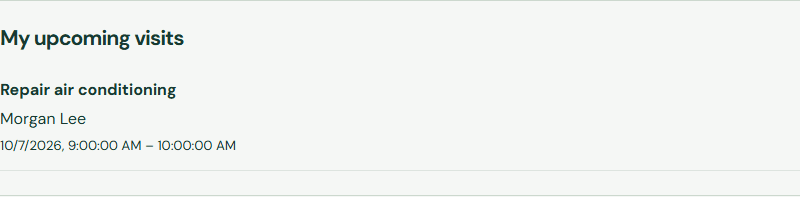
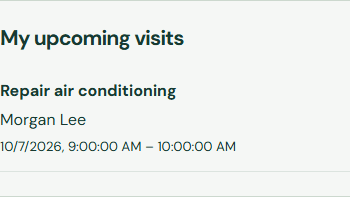
The Technician role opens My QR and shows My upcoming visits for the next 30 days. It cannot access full customer lists, reviews, referrals, other QR codes, settings or audit history. A visit appears here for every team member selected in Schedule. Removing their membership also pauses their QR.
Share the link or download your QR as a PNG using these buttons.
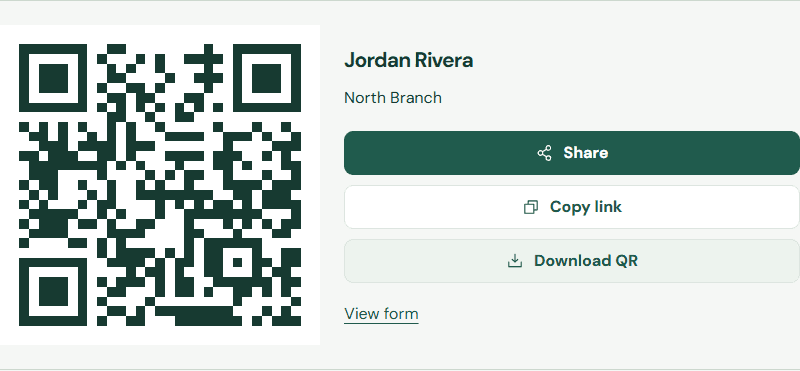
Share the link or download your QR as a PNG using these buttons.
If a custom role change is not confirmed
If your access to a business is removed while you have it open, protected actions are denied. Refresh the page or select another business you belong to. Ask the business owner if you need access restored.
If the screen does not confirm a change, reload Roles and check the current role and team assignment before trying again. A connection failure does not prove that the change was rejected. If another role already uses the name, choose a different name after checking the list. The business owner cannot be assigned a custom role.
Search another guide or submit a ticket from your dashboard.