Configuration and setup
Complete the required business setup, including category, review languages, locations, and platform links.
Updated: 2026-09-20What this covers
Complete the required business setup, including category, review languages, locations, and platform links.
Steps
1. Sign in with the activation link sent by the Relato team. The business owner is taken to the setup wizard before the dashboard opens.
2. Choose the business category. Relato uses it to give AI review drafts the right service context.
3. Choose English, Spanish, or both for customer review flows. If both are enabled, choose the default language.
4. Connect Google Business Profile to import managed locations when the connection is available. You can always add locations manually.
5. For every manual location, add its name and optional Google review and Facebook Page or reviews links.
6. Confirm the setup and enter the dashboard. Open Settings later to update the business category, enabled review languages, branding, locations, services, review options, and public links.
Enter the name your customers will see.
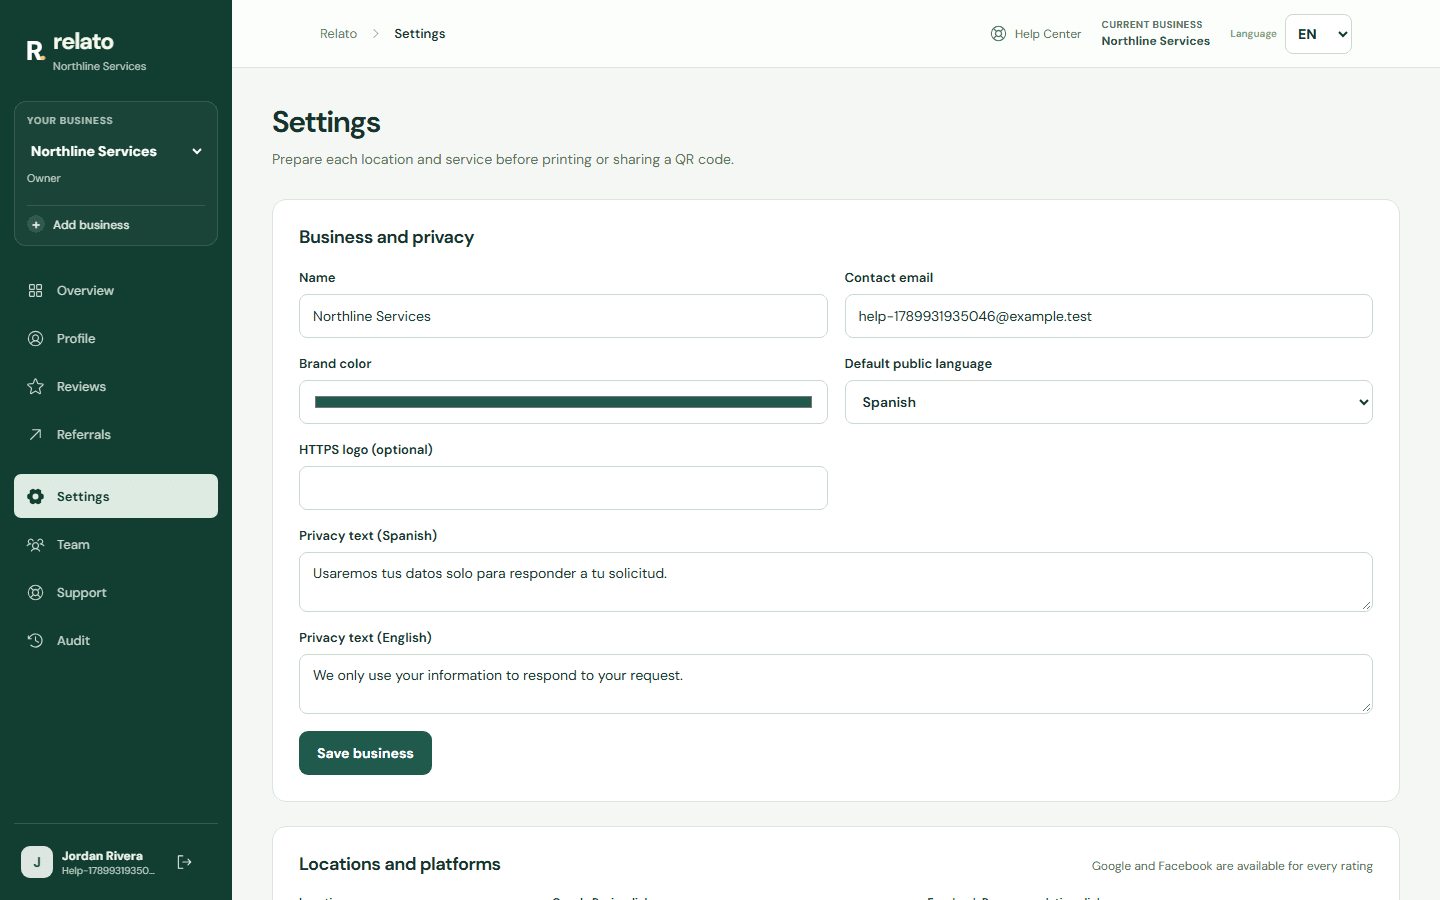
This is the business contact email.
Enter the name your customers will see.
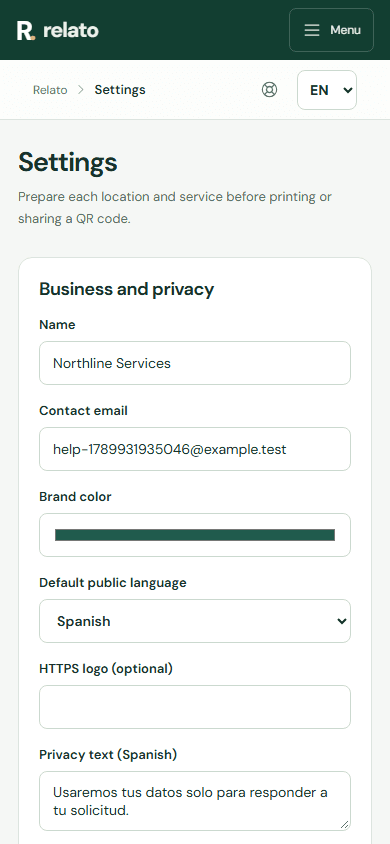
This is the business contact email.
Customize your brand
In Settings → Brand logo, upload a PNG, JPG, or WebP file up to 2 MB. Relato stores it in private storage and serves it through a secure URL on your public review and referral forms. SVG and executable files are not accepted.
Limits
Creating a business does not copy configuration or customer data from another workspace. Team members only see businesses where they have a membership. Google Business Profile connection depends on approved Google credentials; manual setup remains available.
Where to find QR codes
Review QR codes are managed in Team, where you can assign them to a technician. Settings keeps business details, locations, and services. Learn how to create a technician QR.
Search another guide or submit a ticket from your dashboard.